

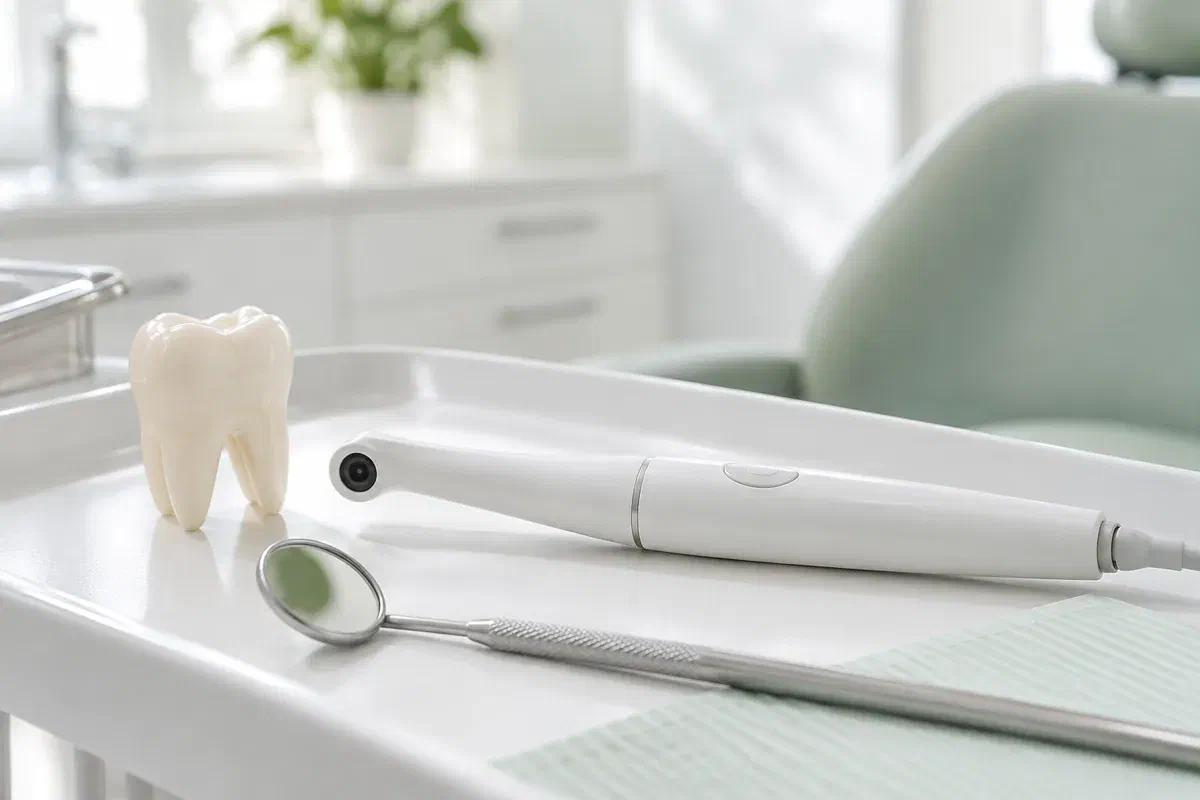
Illustrative dental consultation with a small intraoral camera, not actual clinic equipment
General & Family Dentistry

Intraoral Camera Examinations

See the area your dentist is explaining and ask more informed questions. An intraoral camera can provide close-up photographs that support a discussion of visible dental findings at our Milton practice.

A closer look at intraoral camera examinations

Make the explanation easier to see.

It can be difficult to picture what a dentist means when describing a worn edge, an older filling, or an area near the gumline. An intraoral camera is a small camera used to photograph accessible surfaces inside the mouth. A close-up view can give the conversation a shared reference point instead of relying only on a verbal description.

The photograph supports an examination; it does not perform the examination by itself. Lighting, angle, moisture, and the limits of what is visible all affect the picture. The dentist needs to connect it with your symptoms and other findings before explaining what an area means or whether treatment is necessary.

At Milton Dental Clinic, ask whether camera images would help with the concern being discussed and confirm the available arrangements. You are welcome to ask the dentist to identify the tooth, point out the relevant feature, and explain what remains uncertain. Seeing an enlarged image should help you understand the options rather than leave you feeling pressured by appearance alone.

Discuss an examination of your concern
Illustrative pen-shaped intraoral camera beside a tooth model and dental mirror
When a closer view may help

Use the picture to understand a specific finding.

An image is most useful when it answers a clear question. Tell the dentist which area you want to understand and ask how the photograph relates to the rest of the examination.

A chipped or worn visible surface

A photograph may help show where an edge has changed or a surface looks worn. It does not automatically establish how deep the problem goes or why it happened. Explain any sensitivity, bite change, or history of damage alongside the visual finding.

An area around existing dental work

A close-up may make it easier to discuss the edge of a filling or a place where food collects. A dark line or visible irregularity still needs interpretation. Ask what further examination is needed before assuming the restoration must be replaced.

A cleaning area that is hard to locate

A photograph can help identify a gumline or space that is difficult to see in a bathroom mirror. Ask for the area to be linked with a practical cleaning demonstration. Seeing the location is useful only if the advice is clear enough to apply at home.

An intraoral camera photograph is different from a dental X-ray and from a three-dimensional digital impression. These records answer different questions and should not be treated as interchangeable.

What photographs add to the conversation

A shared view can make questions more precise.

When an image is available, the dentist can indicate the feature being discussed while explaining its significance. This may be helpful when the area is at the back of the mouth or difficult to identify from words alone. Ask which part of the image matters rather than trying to interpret every colour or reflection.

Images may also form part of the clinical record where appropriate. Comparing photographs can support a review, but differences in angle and lighting need to be considered. A visual record should be interpreted with the examination and history, not presented as proof of progression without context.

Patient information: Carestream Dental — intraoral camera image capture and review

A clearer location for the concern

Ask the dentist to identify which tooth and surface are shown. Understanding the location can help you describe symptoms and follow home-care instructions. An enlarged image can feel unfamiliar until its orientation and scale are explained.

A more focused discussion of options

Use the photograph to ask what a proposed treatment would address and which findings support it. Alternatives may still exist. The image is one part of the explanation, not a reason to skip a discussion of benefits, limitations, and other choices.

A record to revisit when appropriate

If an area is being monitored, ask what the team plans to compare at the next review. Photographs may be useful alongside measurements, symptoms, and other records. A monitoring plan should also identify changes that would warrant earlier contact.

During a camera-assisted examination

Explain the purpose, capture the view, and put it in context.

The camera is a supporting tool within a clinical appointment. Tell the team about tenderness, gagging, or difficulty opening so image capture can be considered with your comfort in mind.

  1. Identify the question being investigated

    The dentist discusses your concern and examines the relevant area. Ask why a photograph would be useful and what it may show. Not every dental question can be answered visually, and a camera should not be used as a substitute for appropriate assessment.

  2. Position the camera near the area

    A small camera is directed toward accessible tooth or tissue surfaces to obtain the required view. The team may need to adjust the angle or clear moisture. Use the agreed signal if the position is uncomfortable or you need a pause.

  3. Review the image with an explanation

    Ask the dentist to point out the feature and distinguish an observation from a diagnosis. A photograph may show where something is visible without proving its depth, activity, or cause. The explanation should include what the rest of the examination adds.

  4. Agree the next clinical step

    The outcome may be advice, monitoring, further tests, or a discussion of treatment options. Confirm the reason and any follow-up interval. If images are retained or shared for care, you can ask how they fit into the clinical record and applicable consent arrangements.

After seeing the images

Take home an understandable plan, not an unexplained picture.

Photographing the mouth alone generally does not need recovery care. What matters afterward is the advice or treatment plan based on the full assessment.

Clarify the finding in your own words

Before leaving, check that you understand what was seen, what it means, and what is still uncertain. Ask the dentist to explain unfamiliar terms. A close-up photograph can look dramatic simply because it is enlarged, so context is important.

Follow the advice for the actual concern

If the visit identifies a cleaning difficulty, damaged tooth, or gum problem, follow the instructions specific to that finding. Ask for a demonstration where useful. The photograph itself does not clean an area, repair a tooth, or remove the need for planned treatment.

Keep any agreed monitoring appointment

If observation is recommended, confirm when the area will be reassessed and which symptoms should trigger an earlier call. Do not assume a stored image makes future examination unnecessary. New pain or a change in function deserves attention even if an earlier photograph looked reassuring.

Choosing the right kind of information

Different records answer different dental questions.

The dentist selects tools according to the concern being investigated. Ask what each proposed image or record contributes and how it affects the recommendation.

When visible surface detail helps the discussion

Close-up camera photographs

Photographs may document accessible features and help explain the location of a concern. Their value depends on image quality and interpretation. A camera view is a useful communication aid but cannot establish every part of a dental diagnosis.

When the question extends beyond visible surfaces

Clinical tests and appropriate X-rays

Symptoms or findings may call for tests or radiographs to assess information a photograph cannot provide. Ask why they are recommended. A clear camera picture does not eliminate the need for a different investigation when that investigation addresses a separate concern.

When a restoration or appliance needs a surface model

Digital impressions for shape and fit

An optical scanner may be used to create a three-dimensional impression for suitable treatment workflows. That is a different task from taking a close-up photograph. Confirm the records needed for your planned care and the arrangements available.

Questions about seeing your examination

Ask what the image shows and what it cannot establish.

You do not need to interpret dental photographs yourself. The dentist should connect the picture with the examination, explain uncertainty, and answer questions about any proposed next step.

(905) 876-4488
Does a dark mark in an intraoral photograph always mean there is a cavity?
No. Staining, shadows, restoration margins, and other features can look dark in a photograph. The dentist needs to assess the area and relevant findings before making a diagnosis. Ask what evidence supports the explanation rather than judging the tooth from colour alone.
Can an intraoral camera show what is happening under a filling?
A standard camera records visible surfaces and cannot look through a restoration to reveal everything beneath it. The dentist may need other examination methods or appropriate imaging. Ask which question the photograph answers and which concerns require a different kind of assessment.
Is the close-up camera image an X-ray exposure?
A standard intraoral camera takes an optical photograph; it is not a dental radiograph. If X-rays are also recommended, that is a separate investigation with its own clinical purpose. Ask the team to identify the different records so their roles are clear.
Do I have to watch the camera images if close-up dental pictures make me anxious?
Tell the team your preference. Images can help explain findings, but information can also be discussed in words or another understandable way. You should still receive the explanation needed to make decisions without being required to focus on a picture that increases distress.
Can two intraoral photos prove a tooth has worsened between appointments?
They may contribute to a review, but changes in angle, lighting, moisture, and scale can affect appearance. The dentist should consider the photographs alongside symptoms, examination findings, and other relevant records. Ask what specifically indicates a clinical change.
Will an intraoral photograph by itself determine whether insurance pays for treatment?
No. An image may be part of documentation where appropriate, but a payer applies its own policy and requirements. Clinical recommendations and coverage decisions are separate. Ask about any supporting records needed and confirm benefits rather than assuming a photograph guarantees reimbursement.
Intraoral camera examinations in Milton

Let’s make the findings easier to understand.

Contact our Bronte Street practice with the concern you want assessed. Ask whether camera images would help explain the area and confirm the available appointment arrangements. We can discuss the findings, the limits of the images, and the next step for your care.

Camera images support a clinical assessment. The illustrative photographs on this page do not identify equipment used at the clinic.

Visit Milton Dental Clinic
Unit 1, 342 Bronte St. S, Milton, ON L9T 5B7
Get directions Clinic hours
Monday–Thursday
11am–7pm
Friday–Sunday
By appointment only

How can we help?

Milton Dental Clinic

Have a question about your smile? Choose the option that works best for you.

For urgent dental concerns, please call.
Messages are reviewed during clinic hours.