

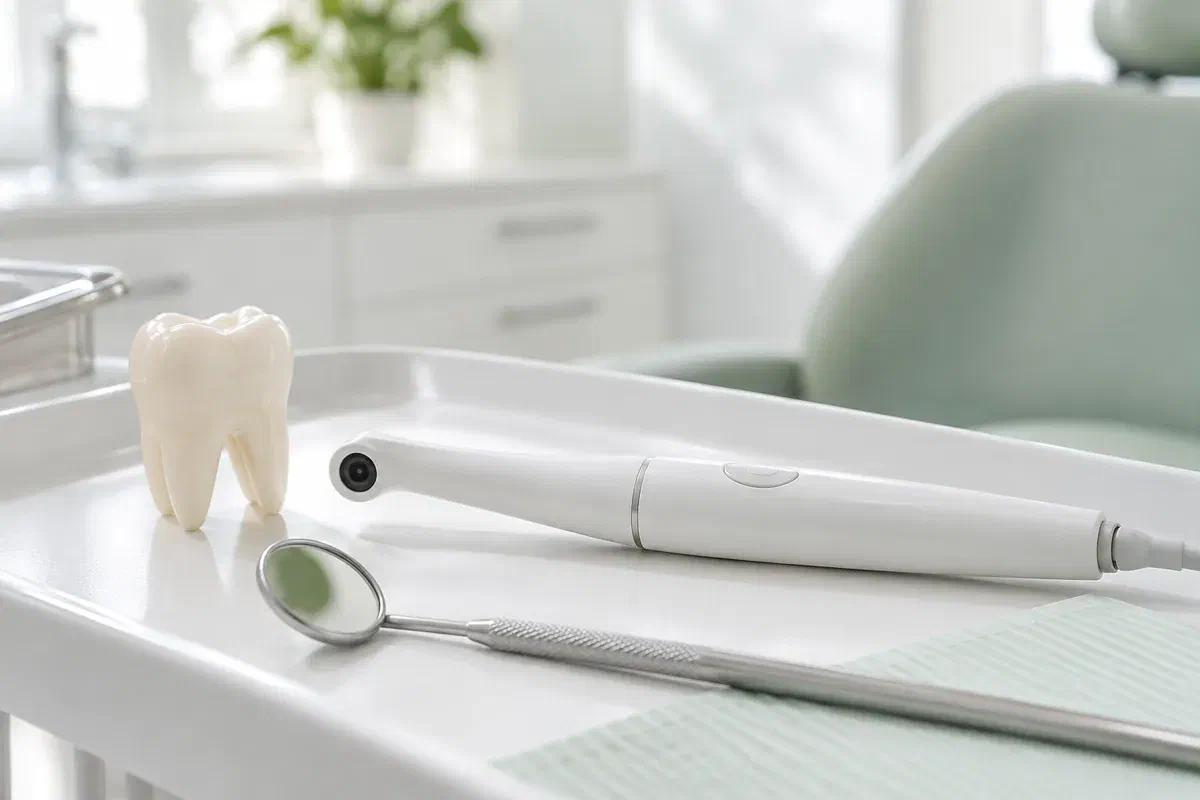
Illustrative dental consultation with a small intraoral camera, not actual clinic equipment
General & Family Dentistry

Intraoral Camera Examinations in Brampton

Photo, X-ray, scan: dental visits can involve several kinds of records, and it is easy to lose track of which is which. An intraoral camera takes ordinary close-up photographs of visible surfaces, and knowing what that picture can and cannot show helps you follow the conversation.

Brampton guide to dental photos

Which picture is this, and what is it for?

Think of the intraoral camera as the simplest record in the room. It is a narrow, handheld camera with its own light that photographs teeth and gum surfaces the lens can reach. It does not see through enamel or bone, and it does not build a model. What it does well is give you and your dentist a sharp, enlarged view of something that would otherwise be described in words.

Because it is only a photograph, its quality depends on glare, wet surfaces, the angle chosen and how much of the tooth is exposed. The dentist reads it alongside your symptoms, past treatment and the rest of the exam. Only then does it become part of an explanation about what is happening and whether anything should be done.

For a family travelling from Brampton, it can help to ask ahead whether photographs suit the concern you are bringing and how the appointment can be set up. In the chair, ask which tooth appears, which detail is important and what is still open. A large, vivid image should help you understand, not hurry your decision.

Ask which records your visit may need
Illustrative pen-shaped intraoral camera beside a tooth model and dental mirror
Questions a photo answers well

Surface-level, in the best sense

Photos are strongest when the question is about something visible. Point out the area, then ask how the image fits with the other findings and records.

Visible wear or a chipped edge

A photograph can show where enamel has changed shape. Depth and cause are beyond what it records. Mention sensitivity, grinding, a change in your bite or an old injury so the dentist can interpret it with the right background.

The visible edge of a restoration

A close-up can show the border between a filling and the tooth, or a place where food sticks. What lies underneath is a separate question. Ask what further checks would be needed before replacement is considered.

Gumline areas that trap plaque

If a spot is out of sight at home, an image can show where it is. Ask the team to pair it with a practical cleaning tip so the photo actually changes what you do each day.

A camera photograph, a dental X-ray and a three-dimensional digital impression are three different records. Each answers its own kind of question, and none simply replaces the others.

What the camera contributes

A shared reference during the exam

On a screen, the dentist can circle or point to the exact surface while explaining it. That makes back teeth and tongue-side surfaces far easier to discuss. You are not expected to make sense of every glint or shade, so ask which part of the image deserves your attention.

When appropriate, photographs can be stored in your clinical record. Laying an earlier image next to a later one can support a review, although angle and lighting differences can make a tooth look different from one visit to the next. Photos should be interpreted with the exam and history, not presented as proof on their own.

Patient information: Carestream Dental — intraoral camera image capture and review

Pinpointing where the issue is

Ask which tooth and surface the photo shows. Once you know, it is easier to describe symptoms and to clean the right area. Magnified images can be confusing until someone explains orientation and true size.

Grounding a treatment discussion

If care is suggested, the image lets you ask what it would fix and which findings support it. Other options may be available. A picture should start the discussion of benefits, limitations and alternatives, not end it.

Supporting a monitoring plan

When an area is being watched, ask what will be compared at the next appointment. Photos may sit alongside notes, symptoms and other records. Ask which changes should bring you back sooner.

How photos are taken

A few minutes within your exam

Photography is only a small part of a clinical visit. Mention tender areas, gagging or difficulty opening so the team can plan the photographs around your comfort.

  1. Decide what the photo should answer

    The dentist discusses your concern and examines the area. Ask what kind of record suits the question. Some concerns call for tests or X-rays instead of, or as well as, a photograph.

  2. Position and capture

    The camera is guided close to the tooth or tissue being recorded. The team may tilt it or dry the surface. Use your agreed signal if you are uncomfortable or need a rest.

  3. Review with context

    Ask the dentist to identify the feature and to separate what can be seen from what has been concluded. A photo may show something is present without revealing its depth, activity or cause. Other findings provide that context.

  4. Agree on what follows

    You might leave with advice, a plan to monitor, a referral for more tests or a set of treatment options to weigh. Make sure the reasoning is clear and you know when to return. Questions about how photos are stored, or shared with consent for your care, are welcome too.

Once the exam is done

Know what was recorded and why

Having photographs taken does not usually need recovery care. What matters afterward is the plan based on the full assessment.

Confirm the finding and the record

Before leaving, check what was seen, what it means, what is uncertain and which records were taken. Ask about any unfamiliar terms. A magnified tooth can look dramatic, so the explanation is what gives it meaning.

Follow the advice for the real issue

Plaque in a hard-to-reach corner, a cracked edge and inflamed gums each call for different guidance, so use the instructions meant for your finding. Ask for a demonstration if useful. A picture does not repair anything or replace planned treatment.

Keep the agreed follow-up

If something is being monitored, know when it will be looked at again and which symptoms mean calling sooner. A stored photo does not make the next exam unnecessary. New pain or a change in function deserves attention regardless of what an earlier image showed.

Comparing the records

Photo, radiograph or digital model?

The dentist chooses records to fit the concern. Ask what each proposed record contributes and how it might change the recommendation.

For visible, reachable surfaces

Intraoral camera photos

Photos document what the eye could see with excellent lighting and magnification. They are only as useful as their clarity and interpretation. Great for explaining location; not enough on their own for every diagnosis.

For what lies inside or below

Tests and X-rays where needed

Symptoms or findings may call for clinical tests or radiographs that show information no photo can. Ask what each is looking for. A clear photograph does not cancel a different investigation designed for a different question.

For a 3D model of shape and fit

Digital impressions

An optical scanner can create a three-dimensional impression for suitable restorations or appliances. It is a separate task from photographing a tooth. Ask which records your planned care needs and what can be arranged.

Sorting out the records

Common mix-ups, explained

You do not need to interpret dental images yourself. Your dentist should connect each record to the exam, explain what is uncertain and answer questions about what happens next.

(905) 876-4488
Is an intraoral camera the same as the scanner used for crowns?
No. A camera takes flat photographs for viewing and discussion, while an optical scanner builds a three-dimensional digital impression used in suitable treatment workflows. Ask which one is being used and why.
Why would I need an X-ray if the dentist already took photos?
Photos show visible surfaces only. Radiographs can show areas between teeth, below fillings and around roots that a camera cannot see. If both are recommended, ask what question each one is meant to answer.
Can the camera look under an existing filling?
A standard camera only records what is visible. It cannot see beneath a restoration. Signs around the edge might lead the dentist to suggest other examination methods or imaging.
Are intraoral photos part of my dental record?
They may be stored in your clinical record where appropriate. You can ask how images are kept, who may see them and what consent applies if they are shared for your care.
Can a photo show the colour of my teeth accurately?
Camera lighting and settings can change how colour appears, so a photo is not always a true match for what people see in daylight. If shade matters for a cosmetic or restorative decision, ask how it will be assessed.
Will my children have the same kind of photos at their checkups?
Photos may be used for children when they help explain or document something. Ask the team whether images would be useful for each family member’s concern, and how the visit will be kept comfortable.
Visits from Brampton

Understand every record we take.

Reach our Bronte Street practice and mention the concern you want examined. Ask whether photos, X-rays or other records are likely to be part of the visit and how the appointment can be arranged. We will explain what each record shows and what it leaves open.

Intraoral photos support a clinical assessment. This page uses illustrative photography, not pictures of equipment at the clinic.

Visit Milton Dental Clinic
Unit 1, 342 Bronte St. S, Milton, ON L9T 5B7
Get directions Clinic hours
Monday–Thursday
11am–7pm
Friday–Sunday
By appointment only

Areas we serve

  • Milton
  • Oakville
  • Mississauga
  • Georgetown
  • Halton Hills
  • Acton
  • Campbellville
  • Brampton
  • Burlington
  • Puslinch
  • Rockwood
  • Erin
  • Caledon
  • Etobicoke
  • Old Milton
  • Bronte Meadows
  • Timberlea
  • Dorset Park
  • Dempsey
  • Clarke
  • Beaty
  • Coates
  • Harrison
  • Scott
  • Willmott
  • Ford
  • Bowes
  • Cobden
  • Walker
  • Mountain View
  • Milton Heights
  • Hawthorne Village
  • Valley View
  • Fallingbrook
  • Nassagaweya
  • Trafalgar
  • Esquesing
  • Nelson
  • Brookville
  • Moffat
  • Glen Williams
  • Norval
  • Limehouse
  • Stewarttown
  • Ashgrove
  • Hornby
  • Silver Creek
  • Speyside
  • Scotch Block
  • North Oakville
  • River Oaks
  • Glen Abbey
  • West Oak Trails
  • Palermo
  • Bronte Creek
  • College Park
  • Joshua Creek
  • Uptown Core
  • Preserve
  • Iroquois Ridge
  • Lisgar
  • Meadowvale
  • Meadowvale Village
  • Churchill Meadows
  • Erin Mills
  • Central Erin Mills
  • Streetsville
  • East Credit
  • Creditview
  • Heartland
  • Sheridan
  • Mount Pleasant
  • Credit Valley
  • Huttonville
  • Churchville
  • Springbrook
  • Northwest Brampton
  • Bram West
  • Fletcher's Meadow
  • Fletcher's Creek South
  • Alton Village
  • Orchard
  • Millcroft
  • Headon Forest
  • Tansley
  • Brant Hills
  • Tyandaga
  • Kilbride
  • Lowville
  • Aberfoyle
  • Morriston
  • Arkell
  • Hillsburgh
  • Freelton
  • Carlisle
  • Waterdown
  • Flamborough
  • Mountsberg

How can we help?

Milton Dental Clinic

Have a question about your smile? Choose the option that works best for you.

For urgent dental concerns, please call.
Messages are reviewed during clinic hours.