Wear from brushing too hard
Some people scrub so firmly that enamel near the gumline wears. A photo may show the area, but depth and cause need more assessment. Mention sensitivity and the brush you use so the dentist can judge it properly.


You brush morning and night, yet the hygienist still mentions buildup in the same places. A close-up from an intraoral camera can show where your routine is falling short, so the changes you make at your own sink are based on what is actually there.
Most people have a brushing pattern they follow without thinking: start at the same corner, sweep the same way, finish in roughly the same time. The places that pattern misses tend to stay missed. An intraoral camera is a small, pen-sized device with its own light that photographs tooth and gum surfaces within reach, and it can show precisely which surfaces your brush is skipping.
That photo is feedback, not a diagnosis. Its appearance depends on light, saliva, angle and how much of the area is exposed. When buildup or redness shows up on screen, your dentist or hygienist connects it with your history, any symptoms and the other findings from the visit before explaining what it means for your gums and teeth.
Households in Erin village, Hillsburgh and the surrounding countryside often plan dental visits around work and farm schedules, so it helps to mention a cleaning concern when booking and ask whether photos would be useful. During the visit, check which tooth is pictured, what the buildup or redness suggests and what is uncertain. The aim is a routine you can change at home, not a lecture.
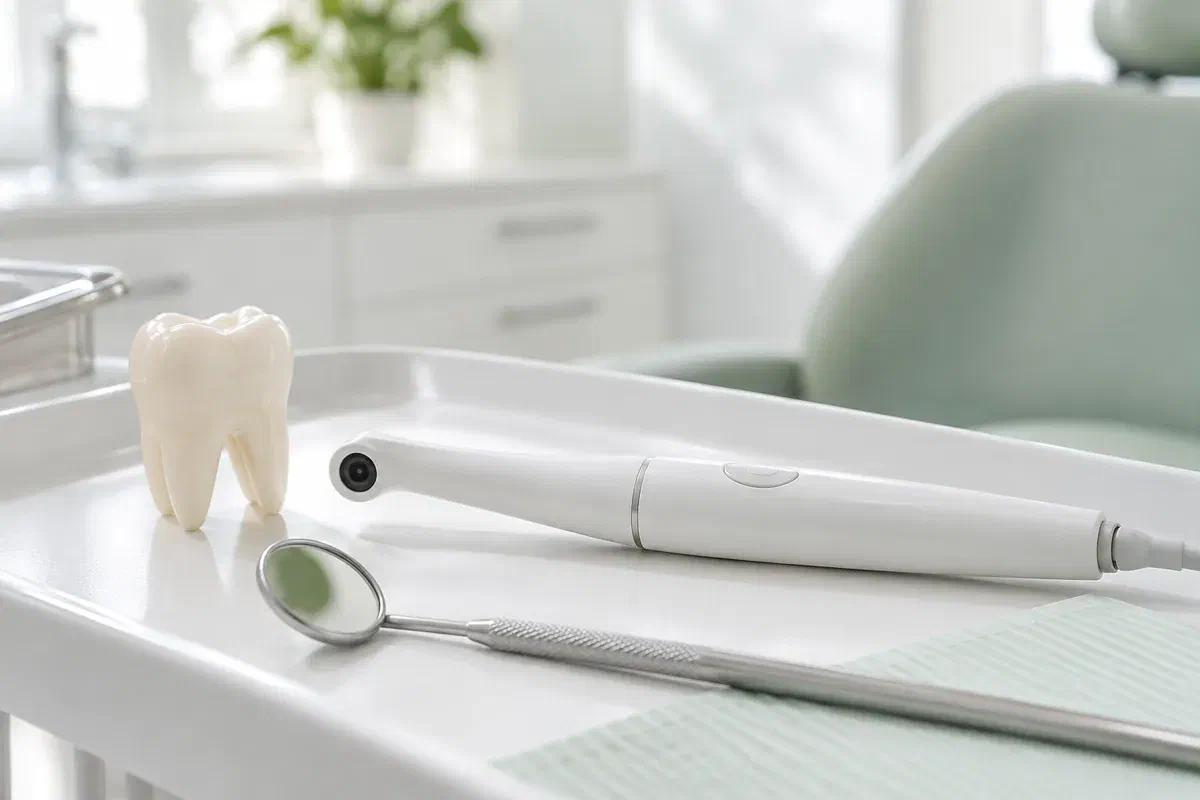
Even a careful brusher has habits that skip certain surfaces. Images help most when they answer a clear question, so tell the team which comments from past cleanings have puzzled you, and ask how the photo fits with the gum checks and other findings from the visit.
Some people scrub so firmly that enamel near the gumline wears. A photo may show the area, but depth and cause need more assessment. Mention sensitivity and the brush you use so the dentist can judge it properly.
Plaque often collects at the edge of dental work. A close-up can show where it sits. Whether the restoration itself needs attention is a separate question, so ask what other checks would be involved.
Tongue-side surfaces of lower front teeth and the backs of last molars are classic blind spots. A photo can show them clearly, and a demonstration can help you change the angle of your brush or floss to reach them.
A camera photograph is different from a dental X-ray or a 3D digital impression. Each record has its own purpose, and none replaces another.
General tips about brushing are easy to ignore. Seeing your own molar with a line of plaque along the gum is harder to forget. With the image on screen, the team can point to the surface and suggest a specific change. Ask which area of the photo matters instead of worrying about every shine or shadow.
Where appropriate, photos may be saved to your record. A later image could be compared with an earlier one to see whether a routine change is helping, though lighting and angle make a difference. Comparisons should always be considered with a fresh exam.
Patient information: Carestream Dental — intraoral camera image capture and review
Learn which tooth and surface need more attention. That makes it easier to adjust your technique and to notice if the area becomes sore. Enlarged images can be confusing at first, so ask which way is up.
The photo can lead to a useful discussion about brush type, floss, interdental brushes or other aids. If treatment is suggested for a related problem, ask what it would address and what supports it, along with alternatives.
If an area is being followed, ask what the team expects to see at your next checkup if the new routine is working, and what improvement would look like in practical terms. Photos may sit beside gum measurements and notes. Ask, as well, which changes would justify calling sooner.
Photographs are one step within a clinical visit. Mention tender gums, a strong gag reflex or difficulty opening so images can be captured comfortably.
Describe how and when you brush and clean between your teeth. The dentist or hygienist examines the areas involved. Ask whether a photo would help; some concerns are better assessed in other ways.
The small camera is held close to the relevant surfaces. The team may tilt it or clear saliva for a sharper view. Use the agreed signal if you want to pause.
Look at the image while the team explains what is observed and what is not yet known. A photo can show buildup or redness without proving how active a problem is or why it began. Then ask to practise the suggested technique in the chair.
You may leave with new home-care advice, a plan to monitor, further tests or a discussion of treatment. Ask the reason and timing. You are welcome to ask how photos are recorded and whether consent is needed to share them.
Being photographed needs no recovery care. The work happens afterward, in the routine you follow each day.
Before leaving, confirm which areas showed buildup, what that suggests and what is uncertain. Ask about any terms you did not understand. Magnified gums can look red and angry even when the issue is mild.
Start with the specific technique you were shown, such as a new brush angle or an interdental aid for one gap. Ask for another demonstration at your next visit if it still feels awkward. A photo does not clean teeth by itself.
Keep any review appointment and know which symptoms mean calling earlier, such as gums that bleed more, swelling or a tooth that becomes sore. A saved image does not replace the next exam.
You are not expected to grade your own brushing from a photo. The team should explain what the image shows, what is uncertain and what to change.
Give our Bronte Street practice a call and tell us about the areas you have been warned about, or simply the ones you want checked. The team can say whether photos would be useful and how to plan the visit around your schedule. Your dentist will explain what the images show and what they cannot, and help you adjust your routine.
Close-up photos are an aid to the exam, not a replacement for it. The pictures shown here are illustrations, not the equipment we use.
