A chip or a thin edge you have noticed
An image can show where a surface has changed, though not how deep the damage reaches or why it happened. Note any sensitivity, bite changes or past knocks so the dentist has the whole story.


When getting to the dentist takes planning, you want each appointment to settle as many questions as it can. Close-up intraoral camera photos can help you understand a visible finding on the day, so you head home knowing what was seen and what happens next.
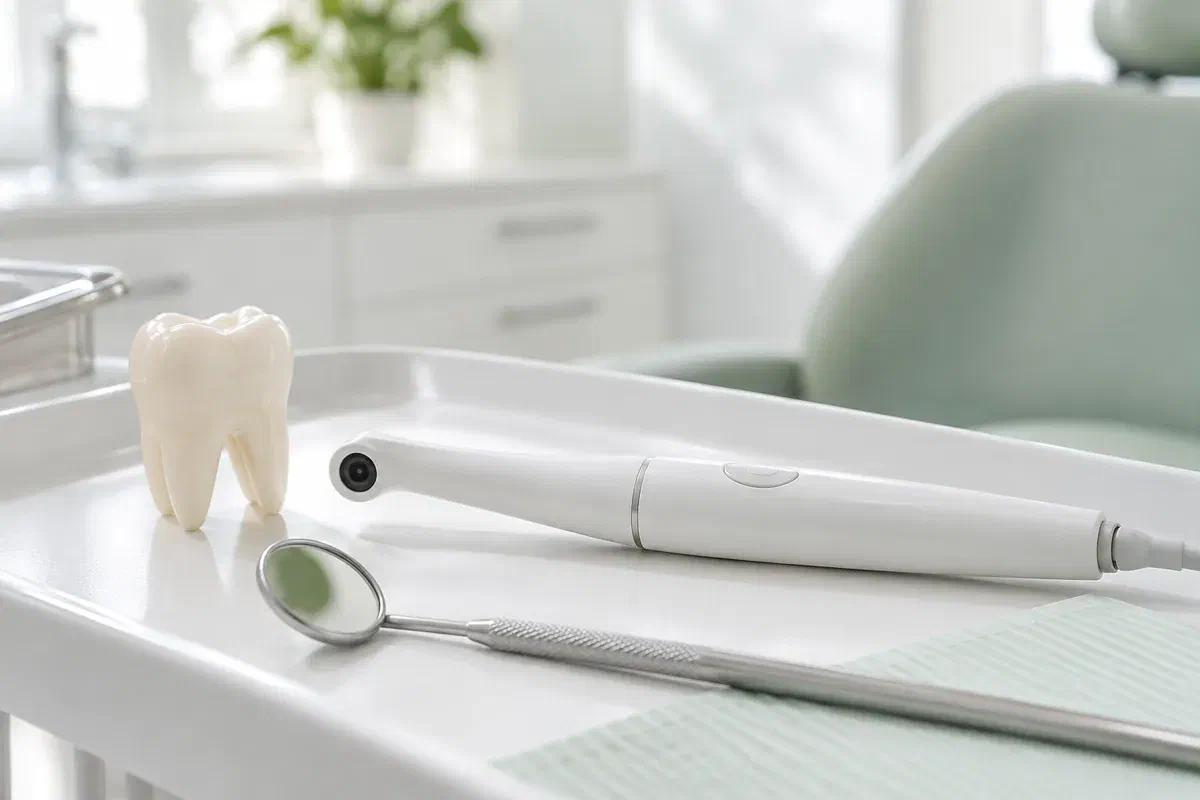
Driving in from the west end of Toronto means you probably do not want to return just to ask what a finding looked like. An intraoral camera helps with that. This small handheld device captures magnified photos of the tooth and gum surfaces it can reach, so the dentist can show you a chipped edge or a worn filling margin while you are still in the chair.
Keep in mind that the image supports the examination and does not replace it. Reflections, moisture, angle and the limits of what is visible all shape the photo. The dentist interprets it together with your symptoms, history and other findings before saying what it means and whether treatment is warranted.
Before booking from Etobicoke, it can help to list every concern you want looked at and ask whether photographs would be useful for any of them, along with how the visit can be arranged. On the day, ask which tooth is shown, which detail matters and what remains uncertain. The goal is understanding, not a decision made in a rush.
Photos are most useful when each one answers a clear question. Write down the areas you want explained, and ask how the images fit with the rest of the exam.
An image can show where a surface has changed, though not how deep the damage reaches or why it happened. Note any sensitivity, bite changes or past knocks so the dentist has the whole story.
A close-up can make it easier to talk about a restoration edge or a place where food packs in. Visible lines still need interpretation. Ask what other checks would be needed before replacement is discussed, and whether they can happen during the same visit.
A photo can locate a gumline area or tight contact that is invisible at home. Ask for a hands-on cleaning tip at the same appointment, so you go home with a technique as well as an image.
Intraoral photos, dental X-rays and 3D digital impressions are separate records with separate purposes. One is not a replacement for another.
A clear view on screen lets your dentist point at the exact feature while explaining its importance. That shortens a lot of back-and-forth, especially for molars and inner surfaces. Rather than scanning every reflection, ask which area of the photo is the one that matters.
Where appropriate, photographs can be added to your record. A later image might be compared with an earlier one at a review, keeping in mind that lighting and angle can change appearance. Any comparison needs the exam and history beside it; on its own it does not prove anything has changed.
Patient information: Carestream Dental — intraoral camera image capture and review
Ask for the tooth and surface to be named. That makes it easier to describe symptoms if you need to call later, and to aim your cleaning. Magnified images can be hard to orient, so ask about direction and scale.
With the photo in view, ask what any proposed treatment would address and which findings support it. Alternatives may exist. Use the time to discuss benefits, limitations and choices instead of saving those questions for another visit.
If something is being watched, ask what will be compared next time and roughly when. Photos can work alongside measurements and notes. Also ask which changes would mean calling before that review.
Camera photos are part of the clinical visit, not a separate appointment. Mention tenderness, a strong gag reflex or limited opening so images can be captured comfortably.
The dentist discusses each concern and examines the areas involved. Ask where a photo would help most. Not every problem can be judged by how it looks, and a camera is never a substitute for proper assessment.
The small camera is placed close to each tooth or surface in turn. The team may adjust the angle or dry the area. Use the signal you agreed on whenever you need a break.
Ask the dentist to show the relevant feature and to separate observation from diagnosis. An image can show something is visible without revealing depth, activity or cause. Other findings complete the picture.
Next steps may include advice, monitoring, further tests or treatment options. Ask which of these can be grouped into fewer visits and what timing makes sense. You can also ask how images are kept in your record and shared, with consent, if needed.
Being photographed generally needs no recovery care. The important part is the advice or plan that comes from the full assessment.
Before leaving, confirm what was seen, what it means and what is uncertain, and jot down the tooth involved. Ask about unfamiliar terms. Enlarged photos can look dramatic, so the explanation is the part worth keeping.
Cleaning difficulty, a damaged tooth or a gum concern each come with their own instructions. Ask for a demonstration if useful. A photograph will not fix a tooth or replace treatment that was planned.
If the area is being monitored, note the review date and which symptoms mean phoning sooner. A saved image does not replace future exams. Ask the team when it would make more sense to seek urgent care closer to home rather than make the trip in.
Interpreting dental photos is the dentist’s job. Expect clear links to the exam, honesty about what is uncertain, and time for questions about any next step.
Call our Bronte Street practice with your list of concerns. Ask whether close-up photos would help with any of them and how the appointment can be planned to cover as much as possible. We will explain what the images show, where they fall short and what comes next.
Camera images support a clinical assessment. Photographs on this page are illustrative and do not depict clinic equipment.
